Mastering Phlebotomy Training: Essential Tips for Certification and Success in 2026
Outline:
1) The 2026 phlebotomy landscape: demand, role, and core competencies
2) Choosing a training path: curriculum, clinical hours, and externships
3) Technique and safety mastery: procedure, quality, and risk reduction
4) Certification roadmap: eligibility, study plan, and exam day tactics
5) Conclusion: Career launch steps and lifelong growth
Why Phlebotomy Training Matters in 2026: Demand, Role, and Real-World Readiness
Phlebotomy sits at a powerful intersection of patient care and laboratory science. In 2026, that intersection is busier than ever. Aging populations, chronic disease monitoring, and the expansion of outpatient and mobile services are fueling steady hiring across hospitals, clinics, diagnostic centers, and community health programs. Recent federal labor statistics project around 8% growth for roles tied to blood collection and laboratory support through 2032—faster than average for many occupations. Translating that macro trend to your daily reality: facilities need entry-level professionals who are clinically sound, safety-minded, and able to provide compassionate, efficient service.
What makes training particularly consequential this year is the maturing blend of technical standards and digital workflows. Barcode-positive patient identification, electronic orders, and specimen tracking are now the norm in many settings. That means the successful trainee is not just accurate with a needle; they’re also fluent in pre-analytical processes that prevent downstream lab errors. Multiple studies have estimated that a large majority of laboratory mistakes occur before analysis—often cited in the 60–70% range—underscoring why strong fundamentals in patient identification, tube selection, labeling, and transport procedures matter as much as the venipuncture itself.
Equally important are the human skills that define a great phlebotomist. Confidence reduces patient anxiety, and clear explanations turn an intimidating moment into a manageable one. In busy outpatient mornings or on tightly scheduled inpatient rounds, your consistency becomes a stabilizing force. Think of your training as building a toolkit that merges: technical competency, situational judgment, and patient rapport. When those pieces lock together, you move beyond “drawing blood” and into a role that streamlines diagnostics, supports clinical decisions, and improves patient experiences. That’s why training—done thoroughly and deliberately—pays dividends in 2026.
To make the most of your preparation, keep a working checklist that nudges daily progress:
– Track procedures logged, successful first sticks, and reasons for any failed attempts.
– Record pre-analytical issues you encounter and how you resolved them.
– Note patient communication techniques that seemed to calm nerves quickly.
– Review safety drills (exposure response, spill cleanup) until they feel automatic.
Choosing a Training Path: Curriculum, Clinical Hours, and Externships That Build Confidence
The pathway you choose shapes your early career momentum. Common options include short vocational certificates, community college programs, and hospital-based trainings. Typical timelines range from 6–16 weeks for intensive certificates to a semester or two for college-linked routes. Cost varies by region and format; weigh tuition against instructional depth, included materials, and placement support. Your north star is simple: practice-rich training with verified clinical exposure and instructors who reinforce modern standards for identification, order of draw, and specimen integrity.
As you compare programs, look for signals that the curriculum matches current workplace expectations. A robust sequence often includes: anatomy and physiology of the vascular system; infection control; venipuncture and capillary collection; specimen handling and transport; legal and ethical considerations; customer service and patient interaction; and familiarity with electronic orders and label printing. Classroom hours commonly fall in the 40–80 range, paired with 50–120 clinical hours or a target number of successful collections under direct supervision. Programs that coordinate externships with active laboratories or clinics create the strongest bridge to employment, since you’ll learn in the same tempo and constraints you’ll face after graduation.
During site visits or virtual info sessions, ask pointed questions:
– How many supervised venipunctures are students expected to complete before sign-off?
– What percentage of students complete an externship, and where?
– How does the program teach and assess pre-analytical quality (e.g., hemolysis prevention, tube fill accuracy, timely processing)?
– Are students trained in challenging scenarios (fainting risk, dehydration, fragile veins, pediatric and geriatric considerations)?
– What is the protocol for exposure incidents and safety drills, and how often are they rehearsed?
Clinical placement quality is as important as the classroom. Settings with diverse patient volumes accelerate skill acquisition; morning outpatient rushes teach pace and prioritization, while inpatient rounds reinforce communication with care teams. When possible, aim for a rotation that includes both. Finally, evaluate learner support. Do you receive feedback logs, skills checklists, or simulation lab time with task trainers before touching a patient? Are instructors accessible for remediation if your first attempts are shaky? These features translate into confidence the day you step into a real draw chair.
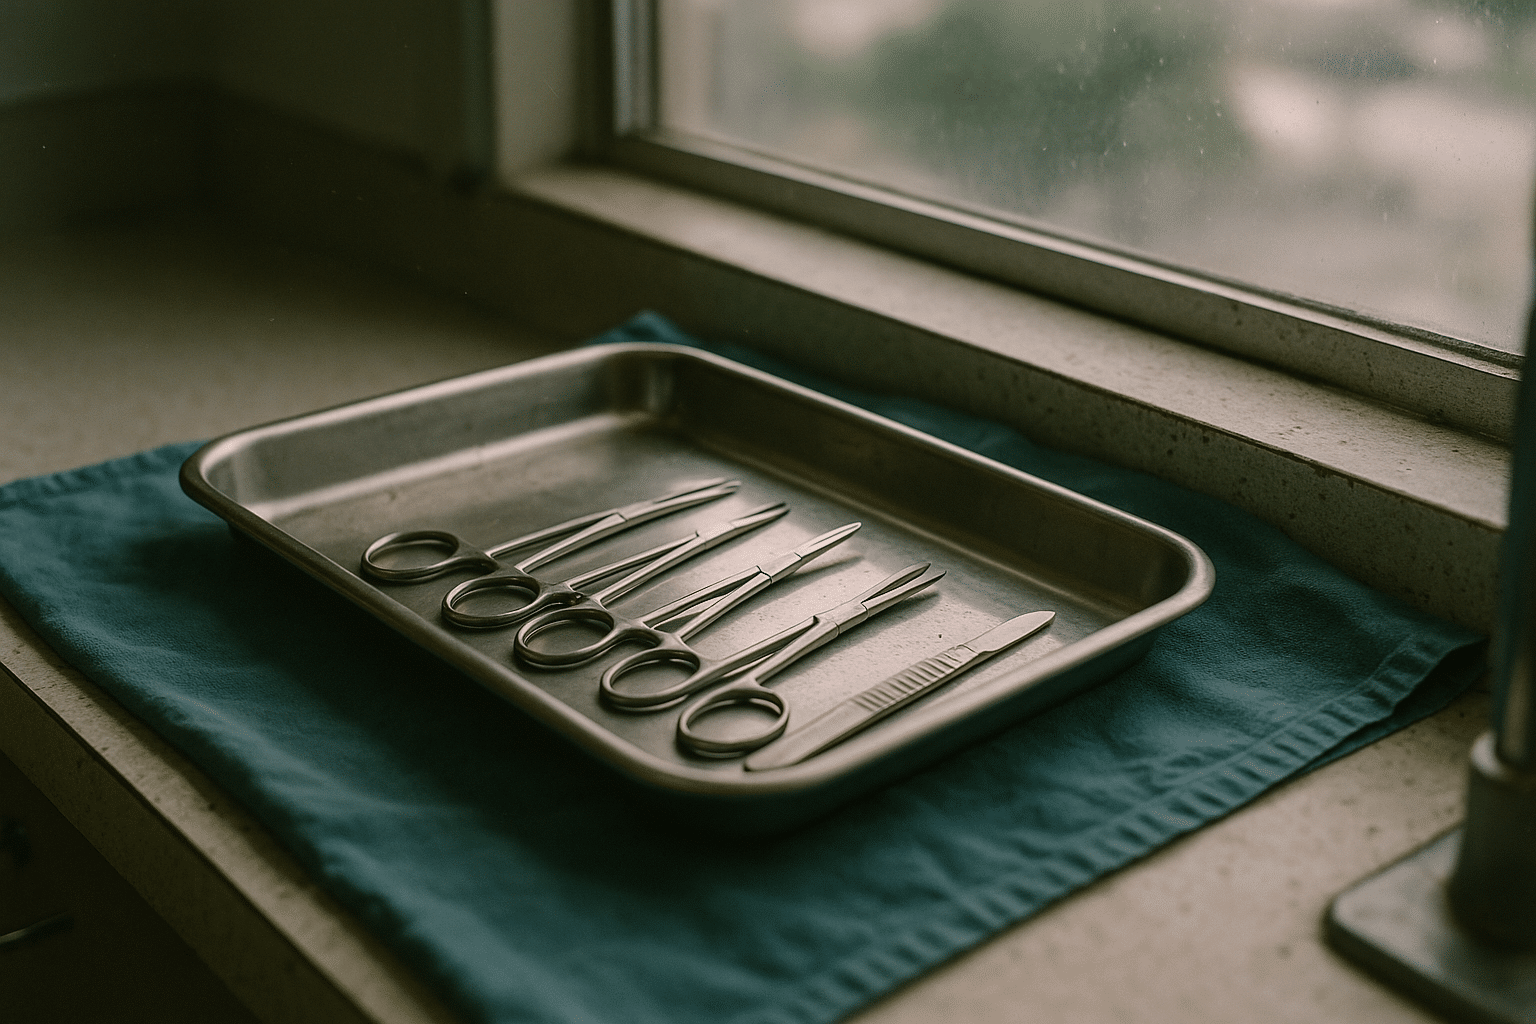
Technique and Safety Mastery: From Site Selection to Specimen Integrity
Technical precision starts with the basics: patient identification, vein assessment, and a methodical setup. Many facilities prefer the antecubital region for routine venipuncture, prioritizing the median cubital vein for its stability, followed by cephalic and basilic options. Angle of insertion commonly sits around 15–30 degrees, adjusted for vein depth. Tourniquets should remain on as briefly as possible—generally under a minute—to limit hemoconcentration. Small habits pay off: have all supplies within reach before you cleanse the site, allow antiseptic to air-dry fully, and confirm additive requirements before selecting a tube.
Specimen quality is where skilled phlebotomists quietly shine. Hemolysis inflates certain analytes and can force redraws; gentle inversions align with additive needs, and avoiding vigorous shaking protects cells. Matching tube volume to its fill line maintains proper anticoagulant-to-blood ratios, and timely transport prevents glycolysis in glucose testing. Many labs try to keep hemolysis rates under about 2% of samples—an attainable benchmark if you consistently use correct needle gauges, release the tourniquet as soon as blood flows, and avoid drawing through an existing line unless policy directs you on how to discard appropriately.
Safety is the thread running through every step. Needlestick injuries are preventable when sharps disposal is immediate and engineered safety features are activated as designed. Personal protective equipment should be second nature: gloves for every draw, face and eye protection when splash risk exists, and hand hygiene before and after contact. If an exposure occurs, follow your facility’s protocol immediately—wash the area, report to a supervisor, and initiate evaluation without delay. A quick, calm response protects you and your patients, and it demonstrates professionalism in moments that matter.
Pre-analytical vigilance guards against the majority of lab errors:
– Verify two identifiers against the order and the label before every collection.
– Confirm tube additive compatibility with the requested tests and avoid cross-contamination.
– Use a clearly defined collection order to prevent additive carryover.
– Label specimens at the bedside or chairside before leaving the patient.
– Document any collection challenges (difficult draw, hemolysis suspected, delay to lab) for clinical context.
Finally, build endurance and ergonomics into your technique. Adjust chair height to keep wrists neutral, vary your stance during busy stretches, and alternate hands when feasible. Over a long shift, those micro-adjustments reduce fatigue and maintain the steady control that keeps your sticks smooth and your samples clean.
Certification Roadmap: Eligibility, Study Strategy, and Exam-Day Execution
Certification validates your competency for employers and helps standardize safety and quality. Most national exams accept a combination of formal training and documented venipuncture experience; exact thresholds vary, but eligibility commonly includes completing an approved course and a minimum number of successful collections under supervision. Some states also require separate licensing or registration, so check local regulations early to avoid last-minute surprises. Plan backward from your desired test date, allowing time to gather paperwork, verify experience logs, and schedule your exam.
Build a study plan that mirrors the test blueprint. Typical domains include patient identification and communication; anatomy and physiology; order of draw and additives; venipuncture and capillary techniques; infection control and safety; specimen processing and transport; and professional ethics and legal considerations. A focused eight- to ten-week schedule works well for many candidates:
– Weeks 1–2: Refresh anatomy, infection control, and patient ID procedures; create flashcards for common analytes and additives.
– Weeks 3–4: Deep dive into venipuncture technique, capillary collection, and special populations; practice order-of-draw scenarios aloud.
– Weeks 5–6: Specimen handling, transport timelines, temperature requirements, and rejection criteria; practice case vignettes.
– Weeks 7–8: Full-length timed practice tests, item review, and reinforcement of weak areas; compile a quick-reference sheet for last-minute review.
– Optional Weeks 9–10: Light review, sleep optimization, and hands-on drills to keep muscle memory sharp.
When using practice questions, simulate the test: sit in a quiet space, time yourself, and avoid peeking at notes. Track performance by content area; aim to push your lowest domain above your pass threshold with targeted review. Passing standards vary among agencies, but many candidates find that consistently scoring in the mid-70% range on reputable practice sets indicates readiness. On exam day, arrive early with valid identification, breathe steadily through each item, and flag only those questions that truly need a second look. Trust your training; overthinking can be as costly as guessing blindly.
After you pass, keep momentum. Many certifications renew every one or two years and require continuing education credits. Choose courses that expand your impact—pediatric draws, difficult venous access strategies, or pre-analytical quality improvement. Maintaining your credential isn’t just compliance; it’s a signal to employers and patients that your skills stay current as standards evolve.
Conclusion: Your 2026 Phlebotomy Game Plan
Success in phlebotomy this year flows from deliberate preparation and steady habits. Start by selecting a program that pairs thorough classroom instruction with meaningful, supervised clinical hours. Prioritize externships that expose you to real scheduling pressure and varied patient populations. During training, measure what matters—first-attempt success rate, specimen rejection reasons, and turnaround from collection to lab delivery—because the ability to manage those numbers is exactly what employers hope to see in new hires.
Make quality your calling card. Keep hemolysis low with gentle handling, use the correct additives for each test, and label in the moment. Follow a crisp collection order to avoid additive carryover and document any issues immediately. Even small wins compound: shaving seconds off setup without rushing, explaining your steps to help a nervous patient relax, or catching a near-miss before it becomes a redraw. In an environment where pre-analytical missteps create the bulk of lab errors, your dependable routine becomes a quiet advantage.
Bring the same intentionality to certification. Build a study calendar that respects your life, lean on spaced repetition for high-yield facts, and rehearse exam conditions so pacing feels natural. After you earn your credential, keep learning. Consider micro-skills that widen your value—mobile collections, challenging veins, or temperature-sensitive transports. Track your achievements and include them on a simple portfolio sheet:
– First-stick rate over your last 200 draws.
– Documented experience with special populations (pediatric, geriatric, oncology).
– Participation in a small quality project (e.g., reducing specimen rejections by a measurable margin).
– Continuing education topics completed in the past year.
If you’re ready to act, set three commitments today: tour one program or lab site, schedule study blocks on your calendar, and begin a skills log you’ll update after every practice or patient encounter. Those concrete steps turn ambition into traction. With a thoughtful training choice, disciplined technique, and a practical certification plan, you’ll enter 2026 as a well-regarded contributor who helps teams deliver accurate results and kinder care—one carefully collected tube at a time.